Tile Layout Math: The Sliver Rule That Separates Pro Bathrooms From DIY Disasters

Tile Layout Math: The Sliver Rule That Separates Pro Bathrooms From DIY Disasters
Your tile choice is only 40% of the equation. The layout is the other 60 — and most people skip the math entirely.
I have a confession that will surprise nobody who has ever watched me measure a doorframe three times: I care more about tile layout than tile selection. A $4/sq ft porcelain installed with balanced cuts and proper alignment will outperform a $22/sq ft handmade zellige that's been slapped down starting from the left wall with a 1.5-inch sliver crammed against the right.
That sliver? It's the single most common mark of an amateur tile job. And it is 100% avoidable with about fifteen minutes of arithmetic and a dry-lay.
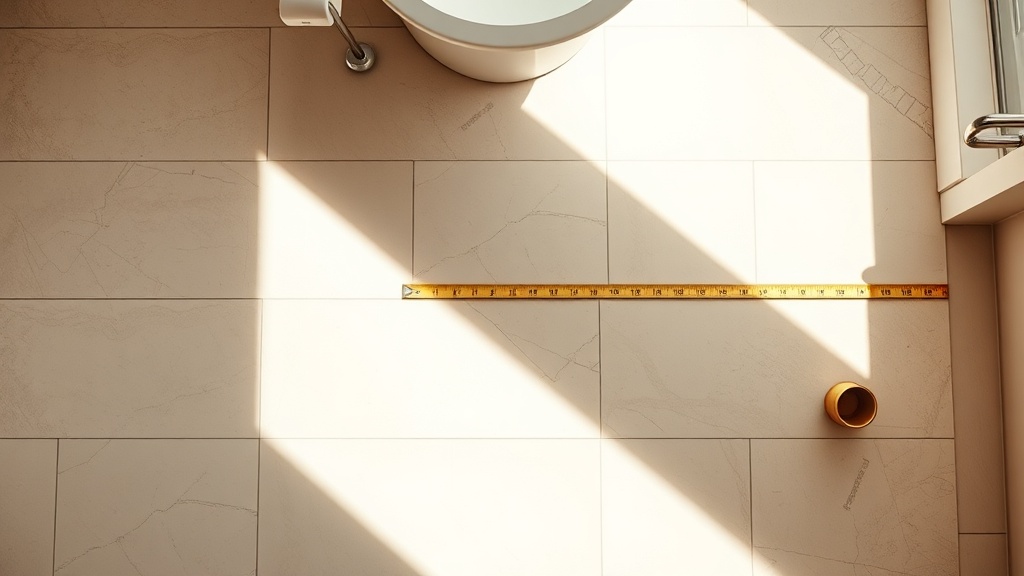
The Sliver Rule: Nothing Under Half a Tile
Here is the non-negotiable: no cut piece should be narrower than half the tile width. If you're using a 12×24 tile, no cut should be under 6 inches on the short side or 12 inches on the long side. Period.
Why? Because narrow slivers do three terrible things:
- They crack. Thin porcelain strips are structurally fragile and will fail at the grout line within a year or two.
- They telegraph unevenness. Even a 1/16" substrate dip becomes visible when the tile is only 2 inches wide.
- They scream "I didn't plan this." Your eye registers asymmetry before your brain can articulate why the room feels off.
The Balanced Layout Formula
This is the actual math. Grab your brass tape (or, fine, your phone calculator — I won't judge out loud).
Step 1: Measure the room dimension
Let's say your bathroom floor is 58 inches wide and you're using 12-inch tiles with a 3/16" grout joint.
Step 2: Calculate the effective tile module
Tile width + grout joint = your module.
12" + 0.1875" = 12.1875" per module.
Step 3: Divide the room by the module
58 ÷ 12.1875 = 4.76 tiles.
This is where most people go wrong. They see 4.76 and think "four full tiles plus a 9.25-inch cut on one side." That's not wrong, but it's not balanced.
Step 4: Center it
Take the decimal remainder: 0.76 of a tile = about 9.25 inches of leftover space. Split that evenly: 4.625 inches on each side.
Wait — that's under our half-tile minimum (6 inches). So we adjust.
Step 5: The adjustment
Remove one full tile from the center count. Now you have 3 full tiles in the middle, and the remainder is: 58 - (3 × 12.1875) = 21.44 inches to split. That gives you 10.72 inches per side — well above the half-tile threshold. That's your layout.
Three full tiles flanked by two generous 10.72-inch cuts. Symmetrical. Structural. Professional.
The Dry-Lay Is Not Optional
I don't care if you did the math perfectly. Dry-lay your first two rows before any thinset touches the floor. Here's what a dry-lay catches that math doesn't:
- Tile size variation. Porcelain is manufactured to tolerances, not absolutes. A "12-inch" tile might actually be 11-15/16" or 12-1/16". Over four tiles, that variance compounds.
- Grout joint creep. Your spacers say 3/16", but real-world placement introduces micro-drift. A dry-lay shows you where you'll actually land at the far wall.
- Obstacle conflicts. Toilet flanges, vanity legs, floor drains — the math assumes an empty rectangle. Your bathroom is not an empty rectangle.
Wall Tile: The Same Rule, Vertical
Everything above applies vertically too, with one addition: gravity makes slivers worse on walls. A narrow horizontal strip at the ceiling line is merely ugly. A narrow strip at the floor line — where it meets the baseboard or floor tile — looks like a mistake and collects moisture.
My rule for wall tile: start your layout from the center of the focal wall and work outward. The focal wall is whichever one you see first when you walk in — usually the wall opposite the door. The corners and behind-the-door walls can absorb slightly less balanced cuts because nobody's staring at them.
Large Format Tiles Make This More Critical, Not Less
The trend toward 24×48 and even 32×32 tiles has made layout planning more important than ever. When a tile is two feet wide, a 3-inch sliver isn't just visible — it's a billboard announcing that nobody measured. Large format also means:
- Fewer grout joints to hide imperfections
- Greater lippage risk if the substrate isn't flat (1/8" over 10 feet minimum — I'd push for 1/16")
- More expensive waste from bad cuts
If you're spending $15+/sq ft on large-format tile and skipping the layout math, you are lighting money on fire in the most architecturally visible way possible.
The Pattern Variable
Running bond (brick pattern with a 50% offset) is the default recommendation for a reason: it forgives minor size variations and naturally distributes cuts. But if you're doing a straight stack — which I love for its clean modernism — you need rectified tiles (machine-cut to exact dimensions) and your layout math has to be airtight. Straight stack with uneven cuts is like wearing a beautifully tailored suit with one sleeve hemmed two inches shorter. The precision is the point, so any deviation becomes the focal point.
A 1/3 offset is my compromise recommendation for most bathrooms: it reads as intentional pattern without demanding the surgical precision of a straight stack.
What I Actually Do On-Site
When I'm consulting on a bathroom project, here's my exact sequence:
- Measure all four walls (bathrooms are never perfectly square — I've seen 3/4" difference corner to corner).
- Find center on the longest visible run and snap a chalk line.
- Dry-lay from center outward in both directions with spacers.
- Check the perimeter cuts. If any cut is under half a tile, I shift the entire layout half a tile off-center. This means one side gets a wider cut and the other gets narrower, but both stay above the minimum.
- Mark the layout lines and photograph them before removing the dry-lay. Your phone camera is your insurance policy.
Total time for this process: maybe 20 minutes. Time it saves you from living with a bathroom that subtly bothers you for the next decade: incalculable.
The Bottom Line
Tile layout is not decoration. It is spatial math with structural consequences. The sliver rule — nothing under half a tile — is the single easiest upgrade you can make to any tile job, and it costs exactly zero additional dollars. It just costs you the willingness to measure, calculate, and dry-lay before you commit.
Your thinset will wait. Your walls will wait. The math takes fifteen minutes. Do it.